Wednesday, March 19, 2014

Pneumatic Rivet Puller Malfunction.

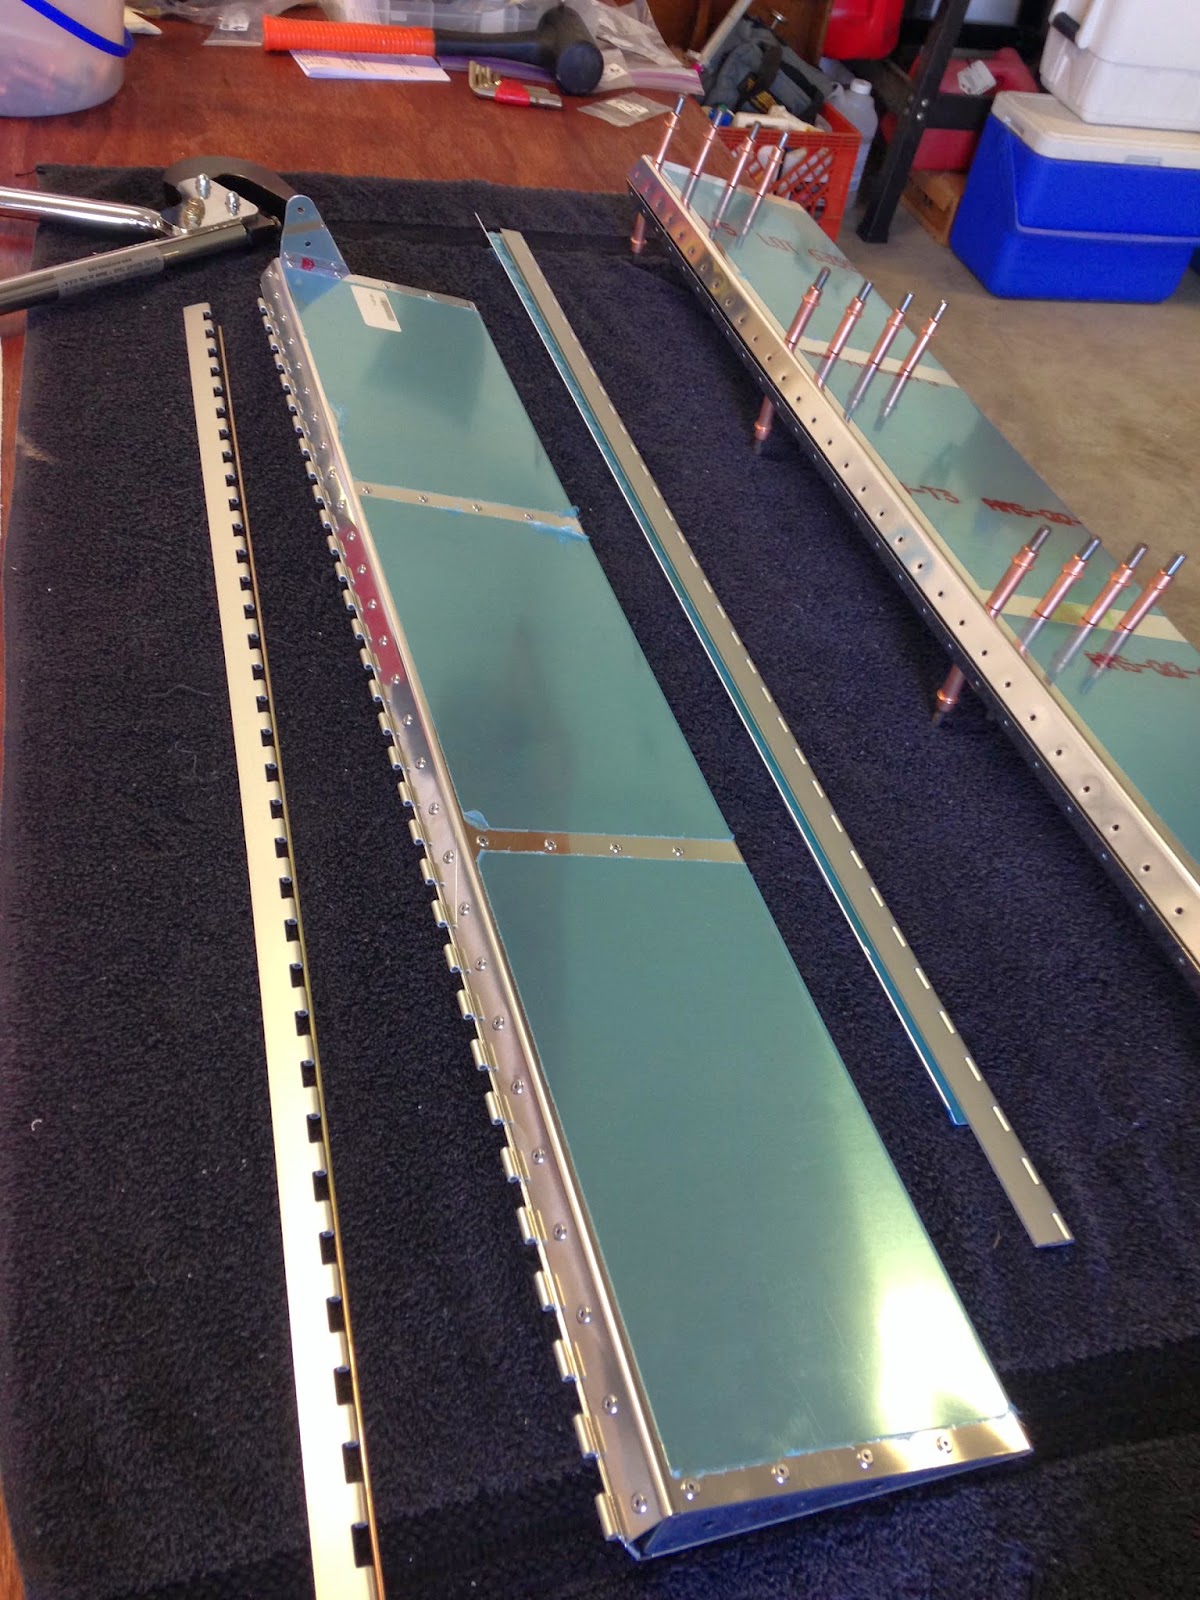
Last night while finishing up the right anti-servo tab, the rivet gun jammed and I had to finish pulling the rivets by hand.  Pulling any significant amount of rivets will make you appreciate the air tool.

A big thank you to Bob at Avery Tool.  This gentleman has been extremely helpful with any technical questions.  He quickly guessed that the problem was multiple rivet shanks collecting in the exit tube and jamming up the jaws that engage the rivet shank.  He then explained how to disassemble that section of the tool and clear it.  I did as instructed tonight and the rivet puller is back in business.

You can buy the same (or similar) tools many places, but this type of service after the sale really sets Avery Tool apart.  I highly recommend them.

The completed assemblies are starting to add up.  So far to date:


  • Vertical Stabilizer
  • Rudder
  • Right Anti-Servo Tab
  • Left Anti-Servo tab
Next up....  The Horizontal stabilizer.  This piece appears to be a bit more involved than its predecessors.  This seems to be the theme while building this kit.  The skills you learn in one section are built on for the next.  For the most part, I am very impressed with the development of the kit and its plans/assembly manual.

Build time to date:  56.3 hours

Sunday, March 16, 2014

Moving Forward.

The Rudder

The Rudder is complete.  There was really only one challenge in completing the Rudder assembly.  The area where the upper hinge brackets mount to the rudder spar is assembled using some larger solid (squeezed) rivets.  The lengths are longer than the smaller solid rivets used up until this point.  While trying to squeeze these rivets, the shop head side (the side that does not have the factory finished head) kept squeezing off the the side. I probably had to drill out 10 solid rivets before I recalled reading a post on the Vans Airforce website a few months ago that appeared to apply to my situation.   That evening I spent some time relocating the forum post and the next day I went to the hardware store and purchase some 1/8" inside diameter clear plastic tubing; the kind you might see as fuel line for a remote controlled airplane engine.  By placing a small section of the tubing (slightly longer that the shop head side of the rivet that protrudes through the material to be riveted) over the shop head side of the rivet, the rivet shank it held on center when the rivet is squeezed together.  Additionally, the rivet tool surface contacts the tubing prior the the shop head of the rivet and when squeezed applies pressure to the the base of the materials to be riveted together; thus ensuring a tight contact point of the pieces prior to expansion of the rivet.  Thanks the Lord for engineering type guys that have built aircraft before me.  This simple modification of the process is something I would have never figured out myself.

Some pictures of the rudder.


The Anti-Servo Tab(s)

An anti-servo tab, or anti-balance tab, works in the opposite way to a servo tab. It deploys in the same direction as the control surface, making the movement of the control surface more difficult and requires more force applied to the controls by the pilot. (source wiki)

Basically, the anti-servo tab(s) moves in the opposite direction of the elevator in order to balance the control forces when pulling the nose of the aircraft up or pushing it down.  My Cessna does not utilize this counterbalancing system for the elevator control.  It instead uses a section of the elevator that is controlled by a trim wheel.  Without the use of the trim wheel, the control forces required to make elevator inputs can be substantial.  My guess is the use of the anti-servo tab(s) aids in the balanced feel of flying the Vans RV-12.

There are two tabs (a left and right).  They are mirror images of each other.  I have completed the left and am in the process of the right.   Picture below.

  
Spring has sprung!

The shop is getting a bit warmer.  In a month or so, the temps will begin to become an issue. I need to explore ways to cool things down before summer arrives.  Mackenzie and Allia don't seem to mind the warmer weather though.


Wednesday, March 12, 2014

Back in business.

Yesterday my friend Pedro came by and helped me skin the VS assembly.  There were a few key points where his extra set of hands came in useful aligning some key holes on the leading edge of the assembly.  Took about an hour and half and we are now back to the point where the wheels fell off the bus last month.  So basically a month delay and another $300 plus dollars and it is time to start moving forward again.


Sunday, March 9, 2014

Replacement parts arrive.

The replacement parts arrived Friday afternoon.  I unpacked, inventoried and began work Saturday.  Before I knew it six hours had passed and the VS (part deux) was well underway.  Another three hours today and we have a completed skeleton.

This time I went ahead and mounted the upper rudder hinge bracket prior to skinning the assembly.  I had to make some minor adjustments to the mounting holes in order to get he bolt holes to line up on the rear spar and the brackets.  for the life of me I can not figure out why Vans has this step after the entire assembly is buttoned up rather than earlier when a problem could be addressed much easier.

I will skin the assembly this week and be back where I was a month ago.  I'm guessing this will not be an isolated incident of 2 steps forward and one step back.  Building an airplane is a marathon not a sprint.  A fellow builder gave me a good piece of advice in the form of a question.  How do you eat an elephant?  .....one bite at a time.

Sunday, March 2, 2014

New Parts for the VS Assembly on the way!

Getting the parts.
It took a while, but the new parts for the VS assembly "Part Deux" are on the way.  Van's has a reputation for being very good at support after the sale.  I am hoping that my recent experience is an isolated incident.  I waited 3 business days for a response to a tech email question and over a week for a replacement parts order to be processed.

The knee.
In the mean time, I experienced another setback with my right knee.  While nursing issues with my meniscus for a few months, it popped again last week and left me semi-crippled (and squealing like a child) for the second time in 60 days.  My amazing wife successfully managed to have my surgery pushed up to this past Friday (initially scheduled for mid April).  Friday I had the surgery and appear to be healing well.  Worked out to be a good use of the building downtime.

New hours of operations.
I'm looking forward to getting the replacement parts in and cranking back up the assembly plant.  In the interest of continued marital bliss, I am going to make a voluntary self-adjustment to the operating hours of the assembly plant.  Regular operations will be on Tuesdays and Thursdays after work.  Build will also take place other times when opportunities present them self w/o interfering with family time.  Anyone who wants to help, or just stop by and visit to take a look, is welcome to swing by on Tuesday or Thursday evenings.  I'll be the guy limping around (in the near term).